Designing a model for 3D printing is very different from designing for injection molding or traditional CNC machining. In 3D printing, your model is built layer by layer, which introduces unique limitations regarding physical support, material contraction, and mechanical strength. Understanding **Design for Additive Manufacturing (DfAM)** is essential to avoid printing failures and minimize post-processing.
1. Design Around Nozzle Width and Wall Thickness
Most FDM 3D printers use a 0.4mm nozzle. When slicing a model, the printer extrudes walls in paths that match the nozzle width. If you design a wall that is 0.6mm wide, the slicer will struggle to fill it efficiently—it might try to print a single 0.4mm line and leave a 0.2mm air gap, resulting in weak and porous parts.
- The Rule: Always design wall thicknesses as multiples of your target nozzle size. For a 0.4mm nozzle, target wall thicknesses of 0.8mm (2 perimeters), 1.2mm (3 perimeters), 1.6mm (4 perimeters), or 2.0mm.
- Minimum Thickness: Never design load-bearing walls thinner than 1.2mm. Non-structural details (like lettering or texture) can be thinner, but anything below 0.8mm is highly fragile.
2. Allow Proper Clearances for Moving Parts
If you design a pin and a matching hole with the exact same diameter (e.g., a 10mm pin inside a 10mm hole), the printed parts will fuse together. Plastic expands slightly when hot, and 3D printers have mechanical tolerances that cause slight inaccuracies.
- Tight Fit (Press Fit): Design a clearance gap of 0.05mm to 0.10mm. You may need to press hard or sand the surfaces slightly to assemble them.
- Snug/Standard Fit: Design a clearance gap of 0.15mm to 0.20mm. Ideal for interlocking joints or lids that stay closed but are removable.
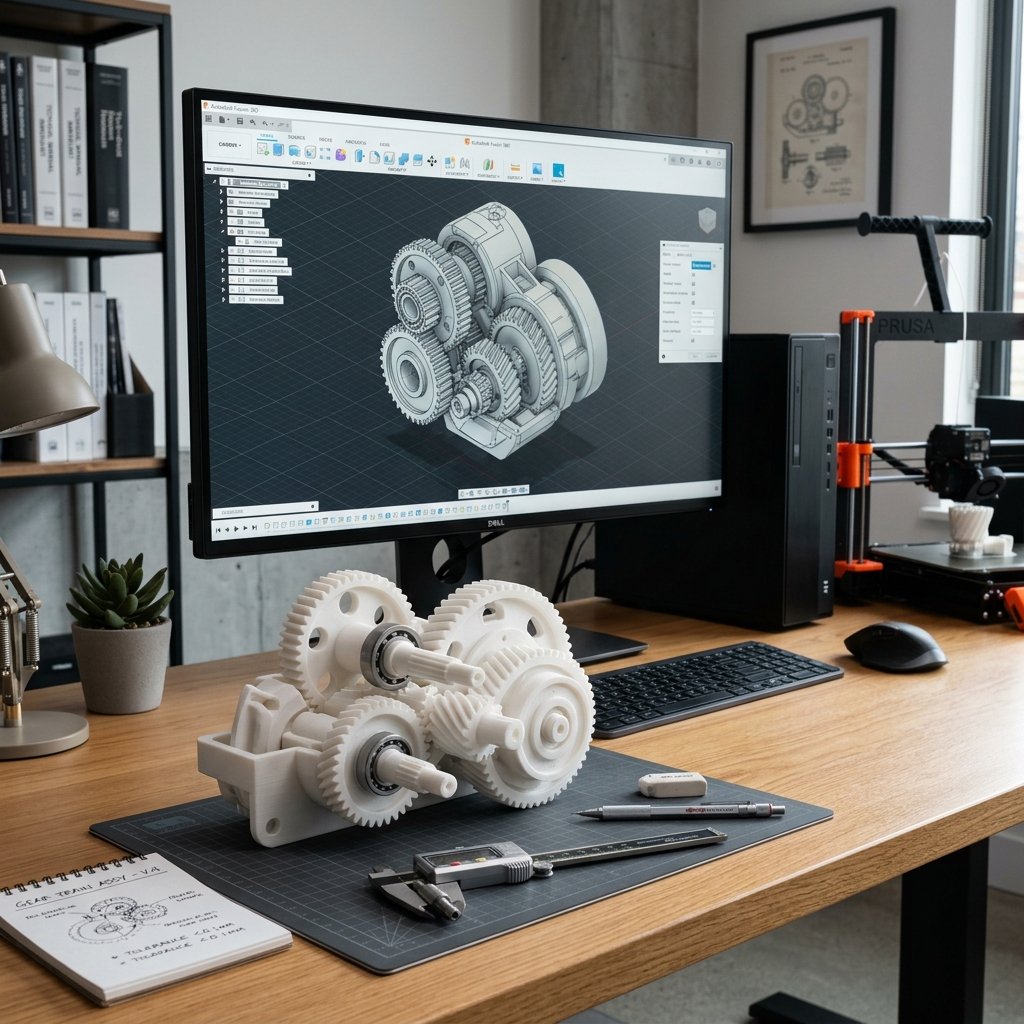
- Loose/Rotating Fit: Design a clearance gap of 0.30mm to 0.50mm. This is critical for hinges, gears, or wheels designed to print in one piece ("print-in-place") without fusing.
📐 Gravity is Your Enemy: The 45-Degree Rule
A 3D printer can slightly overhang lines over previous layers, but if the slope is too steep, the plastic drops down, forming loops and spaghetti. As a rule of thumb, any overhang angle **steeper than 45 degrees** relative to the vertical axis will require support structures. Try to modify your geometries (e.g., using chamfers instead of steep arches) to keep overhangs under 45 degrees and make your model print-support-free.
3. Avoid Fillets on the Bottom Face (Use Chamfers Instead)
Fillets (rounded edges) look gorgeous on models, but placing them on the bottom edge that sits on the print bed is a bad idea. A rounded bottom edge creates a very steep overhang right at the start of the print, leading to bad bed adhesion and ugly, drooping layers.
Instead of a fillet, use a chamfer (flat angled edge) on the bottom face. A 45-degree chamfer is completely self-supporting and prints cleanly, while still giving you a beautiful, rounded-like transition that prevents sharp edges on the finished part.
4. Understand Layer Orientation and Strength
3D prints are anisotropic. They are much stronger along the direction of the print bed (X and Y axes) than they are vertically (Z axis). Think of a print like wood grain: it splits easily along the layers.
- Z-Axis Weakness: If you print a long cylinder standing vertically on the build plate, it will break easily at a layer line if bent. If you print that same cylinder lying flat on the bed, it will withstand high bending forces.
- Design Advice: Identify where structural forces will act on your part. Orient the model or design it in separate pieces so that mechanical tension pulls *along* the printed paths, not *across* them.
Conclusion
Designing with additive manufacturing rules in mind saves hours of failed prints, reduces material waste, and yields parts that look professional and work as intended. Always ask yourself: "How will this rest on the bed? Where are the forces going? Are my walls matched to my nozzle?"
Need support designing a custom bracket, enclosure, or prototype that prints reliably? Get in touch with us at 3D Print Book through our Contact Page to get started!