A 3D print straight off the build plate is rarely a finished product. If you are printing functional parts, layer lines might not matter, but for display models, cosplays, architectural prototypes, or product designs, post-processing is what elevates raw plastic into a premium, professional object. In this guide, we walk you through support removal, sanding, priming, painting, and vapor smoothing.
1. Support Removal and Cleanup
If your model had overhangs, it was printed with supports. Removing supports cleanly is the first step. If not done carefully, you risk breaking delicate details or leaving rough, white plastic scars on the surface.
- Tools needed: Flush cutters, needle-nose pliers, and a sharp hobby knife (scalpel).
- The Process: Gently twist larger support blocks with pliers. Use flush cutters to snip support nodes as close to the model as possible. Scrap away remaining debris with a hobby knife, moving away from your fingers.
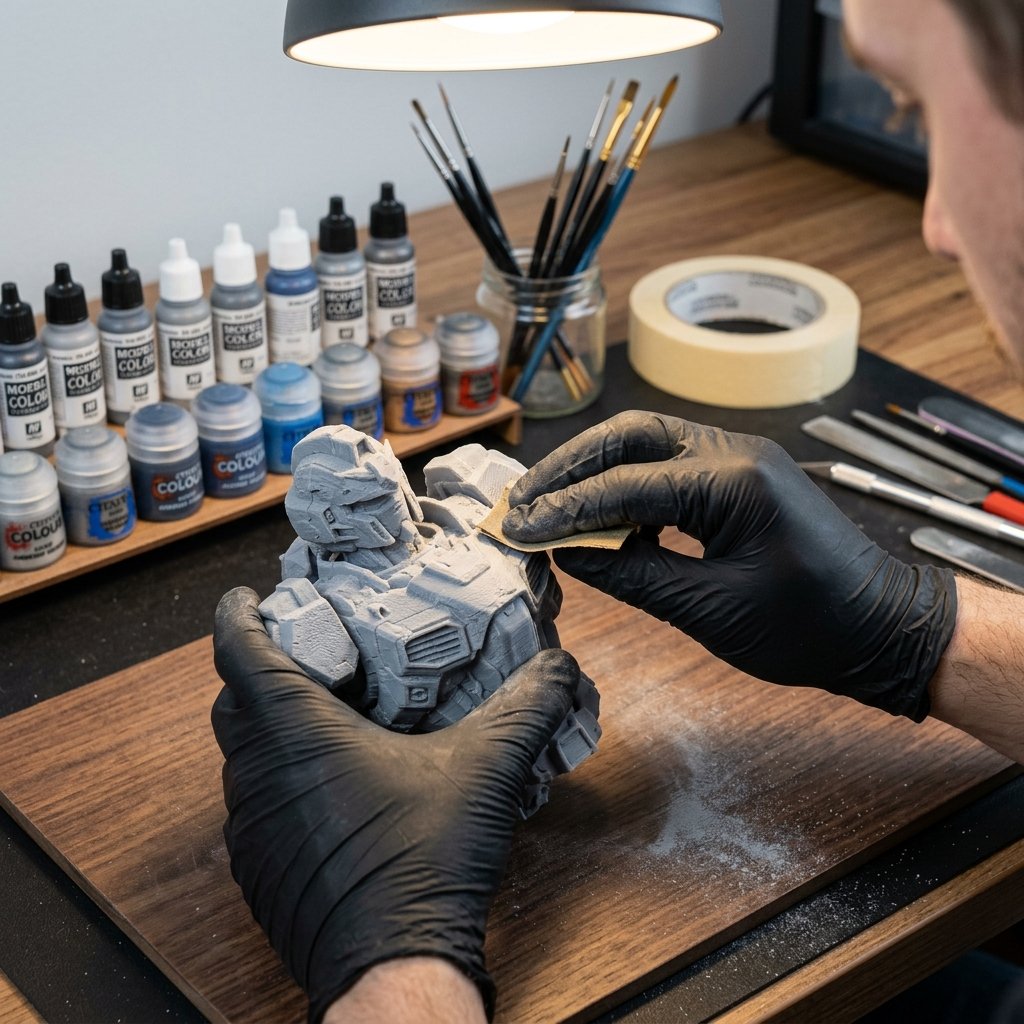
2. Sanding – The Golden Rule: Go Wet
Sanding is the most important step for hiding layer lines, but it requires patience. Plastics like PLA have a low melting point. Dry sanding with sandpaper creates friction heat, which melts the plastic and clogs the paper, leaving unsightly scratches.
- Wet Sanding: Always dip your sandpaper in water or sand under running water. This keeps the print cool, washes away plastic dust, and prevents sandpaper clogging.
- The Grit Progression: Start with a coarse grit (120 or 180-grit) to shave down large ridges. Progress to medium grit (240 to 320-grit) to smooth out scratches. Finish with fine grit (400, 600, and 800-grit) for a polished, silky-smooth feel.
😷 Safety First: Wear a Mask!
When dry sanding plastics or spraying paint and primer, you generate microscopic particles and toxic volatile organic compounds (VOCs). Always wear a particulate dust mask (N95 or better) and work in a well-ventilated space, preferably outdoors or near an exhaust fan.
3. Priming and Filling (Hiding Layer Lines)
If you try to paint raw plastic directly, the layers will absorb the paint unevenly, making layer lines *more* visible. You need a primer to seal the plastic and fill microscopic gaps.
- Use Sandable Filler Primer: This is a heavy spray primer designed to go on thick and fill layer lines. Spray a light, even coat and let it dry completely (usually 1-2 hours).
- The Prime-Sand-Repeat Cycle: Once dry, lightly sand the primered model with 400-grit sandpaper. You will see the gray primer stay inside the layer lines while showing bare plastic on the high points. Spray another light coat of primer and repeat until the surface is uniform.
4. Painting and Clear Coating
Now that your surface is smooth, you can apply color. Acrylic spray paints or airbrushing are the best choices for plastic models.
- Painting: Apply multiple thin coats of paint instead of one thick coat. Thick coats run, drip, and obscure details. Allow 15-20 minutes of drying time between layers.
- Clear Coating: Protect your paint job from scratches, dust, and UV fading by applying a clear topcoat. Choose a **Matte** clear coat for a realistic, non-reflective finish, or a **Gloss** coat for metallic or glass look.
5. Advanced: Chemical Vapor Smoothing (ABS/ASA only)
If you print in **ABS** or **ASA**, you can smooth the print chemically using **acetone**. Acetone dissolves ABS. By exposing the print to acetone vapors for a few minutes, the outer surface melts slightly and reflows, erasing layer lines completely and creating a high-gloss finish similar to injection-molded plastic.
Warning: Vapor smoothing does NOT work on PLA or PETG. Also, acetone vapors are highly flammable and toxic. Only perform vapor smoothing using cold, sealed containers or dedicated hardware in extremely ventilated outdoor areas.
Conclusion
Post-processing takes time, often longer than the printing process itself. However, the results are worth it. With correct sanding, priming, and painting, a 3D print transforms from a plastic toy into a high-end product replica.
Need professional, finished prototypes, visual displays, or custom sanded models? Contact 3D Print Book through our Contact Page to discuss your project requirements!