




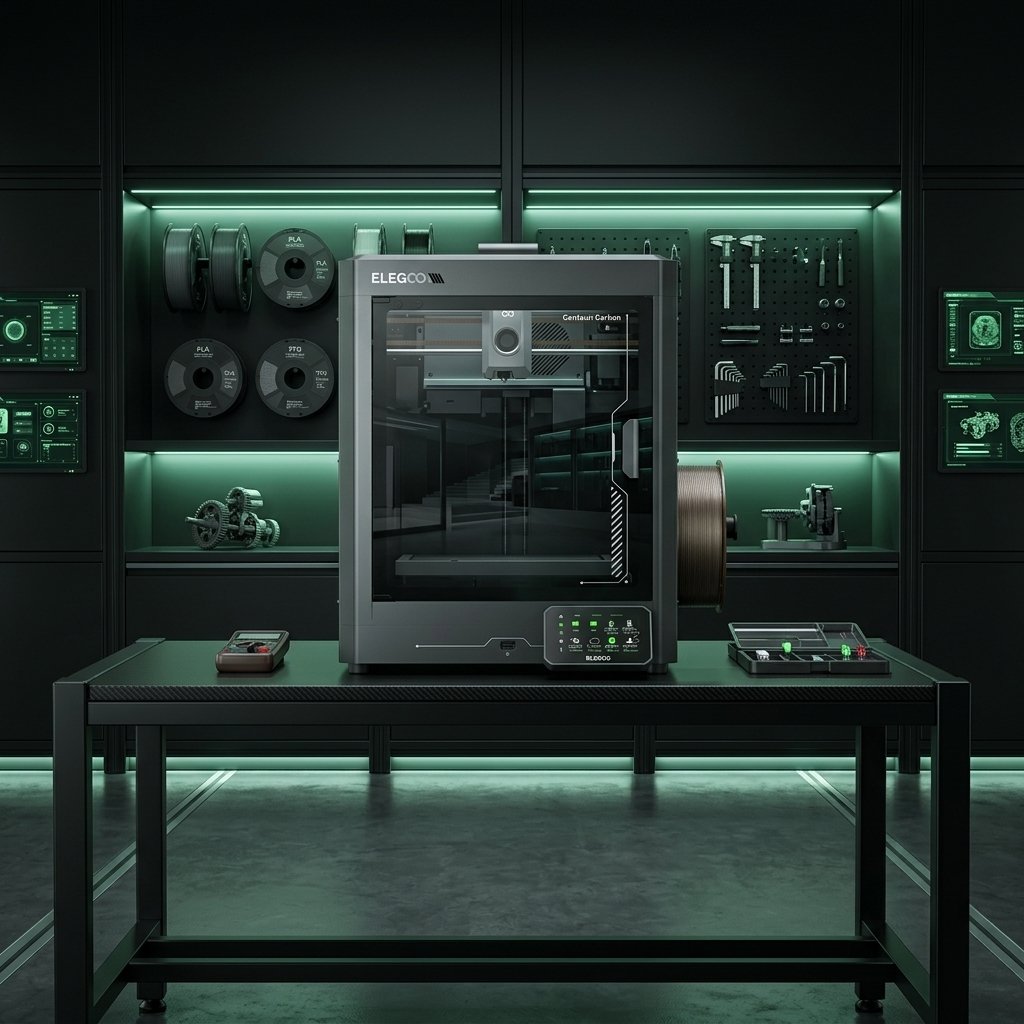
In the rapidly evolving world of FDM (Fused Deposition Modeling) 3D printing, the push for higher speeds, tighter tolerances, and plug-and-play reliability has transformed consumer expectations. As the owner of a dedicated FDM prototyping workshop, I have closely followed how manufacturers respond to this shift. For years, Elegoo has dominated the budget-friendly bed-slinger market with their highly successful Neptune series. However, in 2026, the company has officially entered the premium enclosed CoreXY space with the release of the Elegoo Centauri Carbon. This machine is designed to compete head-to-head with established high-speed enclosed systems, offering carbon fiber components and fully automated calibration routines.
The transition from open bed-slingers to enclosed CoreXY printers is a massive leap forward for makers who need to print functional components. Enclosed chambers allow for controlled ambient temperatures, which are essential when working with warp-prone engineering materials like ABS, ASA, and Polycarbonate. Furthermore, CoreXY kinematics keep the print bed stationary along the X and Y axes, moving it only along the Z-axis. This reduces the moving mass of the printer significantly, enabling rapid acceleration and eliminating the layer shifts commonly associated with heavy bed motion. The Centauri Carbon aims to combine these architectural advantages with Klipper firmware to deliver high-quality, high-speed FDM prints right out of the box.
In this comprehensive guide, I will dissect the key features of the Elegoo Centauri Carbon, break down its technical specifications, walk you through the essential setup and auto-calibration processes, and share my professional tips for optimizing this printer within your slicer. Whether you are a beginner looking to skip the calibration learning curve or an experienced maker needing a reliable addition to your print farm, this walkthrough will help you maximize the performance of this new CoreXY machine.
What is the Elegoo Centauri Carbon FDM Printer?
The Elegoo Centauri Carbon is a high-speed CoreXY FDM 3D printer featuring carbon fiber reinforcement, active chamber heating, and advanced auto-calibration. It targets makers looking for speed and reliability at a competitive price.
Designed as an all-in-one enclosed solution, the Centauri Carbon represents a major strategic pivot for Elegoo. Traditionally known for resin printers and entry-level FDM machines, Elegoo has engineered this printer from the ground up for high-performance thermal stability and speed. The "Carbon" moniker refers directly to the lightweight carbon fiber rods used on the X-axis gantry. By utilizing carbon fiber instead of heavy steel rods or linear rails, the gantry's weight is minimized, allowing the direct-drive extruder to accelerate at up to 20,000 mm/s² without causing structural vibrations or surface artifacts like ringing and ghosting.
In my workshop, I look for machines that minimize downtime. The Centauri Carbon addresses this by incorporating a fully automated calibration suite. It handles bed leveling, vibration compensation, and flow dynamics using built-in sensors, removing the need for manual leveling knobs or paper-based height calibrations. With its fully enclosed frame and active chamber heater, it is built to handle standard materials like PLA and PETG, while effortlessly printing technical thermoplastics that typically require high thermal control.
Key Technical Specifications and Performance Metrics
The technical specs of the Elegoo Centauri Carbon reflect its role as a high-speed, high-temperature prototyping workhorse. Below is a detailed breakdown comparing the Centauri Carbon against other industry leaders in the high-speed enclosed FDM space, such as the Bambu Lab P1S and the Creality K1C.
| Feature / Spec | Elegoo Centauri Carbon | Bambu Lab P1S | Creality K1C |
|---|---|---|---|
| Kinematics Type | CoreXY | CoreXY | CoreXY |
| Build Volume (mm) | 256 x 256 x 256 mm | 256 x 256 x 256 mm | 220 x 220 x 250 mm |
| Max Print Speed | 600 mm/s | 500 mm/s | 600 mm/s |
| Max Acceleration | 20,000 mm/s² | 20,000 mm/s² | 20,000 mm/s² |
| X-Axis Gantry Material | Carbon Fiber Rods | Carbon Fiber Rods | Steel Linear Guide Rails |
| Max Hotend Temp | 300°C | 300°C | 300°C |
| Chamber Heating | Active (Up to 60°C) | Passive (Chamber enclosure only) | Passive (Chamber enclosure only) |
| Bed Calibration | Auto (Load Cell Matrix) | Auto (Piezo/Eddy Sensor) | Auto (Strain Gauges) |
| Firmware Interface | Open Klipper (Fluid/Mainsail) | Proprietary Closed Firmware | Modified Klipper (Creality OS) |
Looking at these specifications, the active chamber heating system is a standout feature of the Centauri Carbon. Most enclosed FDM printers in this price range rely on passive heating—meaning the chamber is warmed solely by the heat radiating from the print bed. This can take up to 45 minutes to reach stable temperatures and rarely goes above 40°C. The Centauri Carbon's active heating element actively warms the air inside the chamber to a controlled 60°C within minutes. This significantly reduces thermal differentials across the print, eliminating warping in materials like ABS, ASA, and Polycarbonate.
Why Carbon Fiber Rods and CoreXY Kinematics Matter for FDM
Carbon fiber rods combined with CoreXY kinematics deliver unmatched print speeds and acceleration by reducing the moving mass and keeping the motors stationary. This mechanical configuration minimizes inertia, preventing vibrations and ringing to ensure crisp outer walls on fast prints.
To understand why the Centauri Carbon performs the way it does, we have to look at the physics of FDM motion. On a traditional bed-slinger, the heavy print bed slides back and forth along the Y-axis. As the print grows taller and heavier, the printer has to push more mass, which limits acceleration and introduces artifacts. CoreXY kinematics solve this. In a CoreXY system, two stationary stepper motors mounted at the rear of the frame drive a system of timing belts to move the lightweight print head in both the X and Y directions. The build plate only moves slowly up and down along the Z-axis, meaning the moving weight remains constant throughout the print.
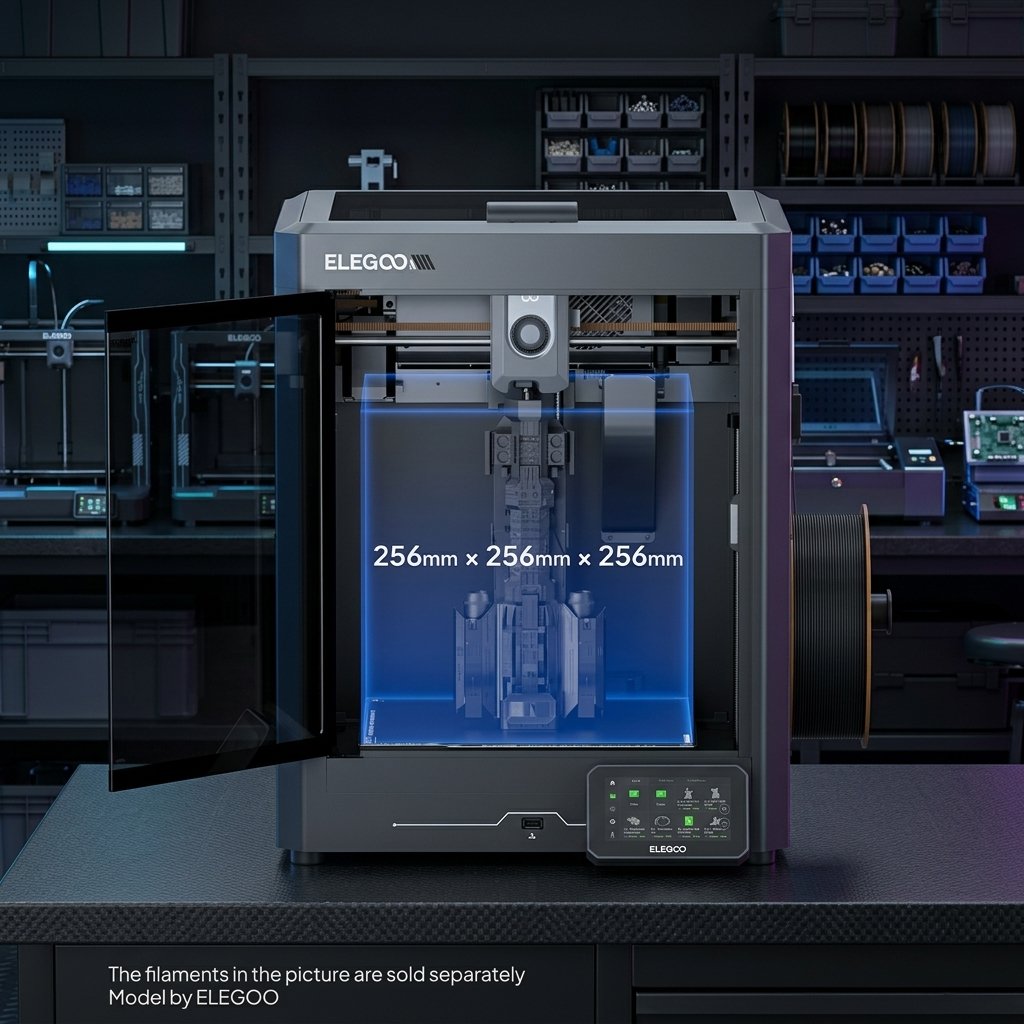
However, the limiting factor in a CoreXY printer is still the weight of the X-axis gantry, which carries the print head side-to-side. Steel rods or linear rails are heavy and flex under load at high acceleration. By replacing them with hollow carbon fiber rods, Elegoo has reduced the gantry mass by over 60%. Less weight means less inertia. When the print head has to make a sudden 90-degree turn at 500 mm/s, the low mass allows it to change direction instantly without overshooting. This results in sharper corners, cleaner details, and an overall reduction in ghosting without having to rely on aggressive input shaping filters that can smooth out fine details.
Expert Maintenance Tip from Dinu Suciu:
"While carbon fiber rods are incredible for reducing weight, they require different maintenance than steel linear rails. Never apply grease or oil to carbon fiber rods. Lubricants will attract carbon dust and microscopic filament particles, creating an abrasive paste that will wear down the self-lubricating copper bushings inside the toolhead carriage. Instead, clean the rods once a month using a lint-free microfiber cloth soaked in 90% Isopropyl Alcohol (IPA). Wipe them down gently to remove any dust and let them air dry. This keeps the motion smooth and quiet."
Step-by-Step Auto-Calibration and First Print Setup
Setting up the Elegoo Centauri Carbon involves unboxing, running the built-in self-test, and executing the automated calibration sequence. Running these steps is crucial to configure the input shaper and build a precise bed mesh before printing.
When you unbox the Centauri Carbon, the first thing you will notice is how robust the structure feels. The frame is constructed from CNC-machined aluminum plates and steel sheets, with thick glass panels on the sides and a magnetic glass front door. Follow this detailed sequence to prepare the printer for its first run:
- Unboxing and Shipping Screw Removal: Carefully remove the packaging foam inside the chamber. Locate and remove the bright red shipping screws that secure the build plate carriage and the X-axis gantry. Failing to remove these will damage the stepper motors when you power the machine on.
- Installing the Toolhead and Bowden Tube: Mount the direct-drive extruder assembly onto the carriage using the provided screws. Insert the PTFE Bowden tube from the rear spool holder into the top of the extruder until it clicks into place.
- Power On and Initial Firmware Setup: Plug in the power cord, turn on the main switch, and follow the on-screen prompts on the 5-inch color touchscreen. Select your language, connect the printer to your local Wi-Fi network, and let the system verify its firmware version.
Once the initial setup is complete, you must run the **Automatic Self-Test and Calibration Suite**. This routine takes about 15 minutes and performs three critical calibrations:
- Vibration Compensation (Input Shaping): The printer uses accelerometers inside the toolhead and the print bed carriage to measure resonance frequencies. It shakes the X and Y axes rapidly, graphing the vibrations and configuring Klipper's input shaping algorithms to cancel out these frequencies during real-world prints.
- Automatic Bed Leveling (ABL): The Centauri Carbon heats the build plate to 60°C and uses load-cell sensors behind the nozzle to probe the bed at 36 distinct points. This creates a detailed digital mesh of the build plate's surface, which Klipper uses to adjust the Z-axis height in real time, compensating for any warp or tilt.
- Auto Z-Offset Calculation: By probing the nozzle directly against a reference contact plate, the printer calculates the exact distance between the nozzle tip and the PEI build sheet. This ensures a perfect first layer without needing to calibrate the height manually using a piece of paper.
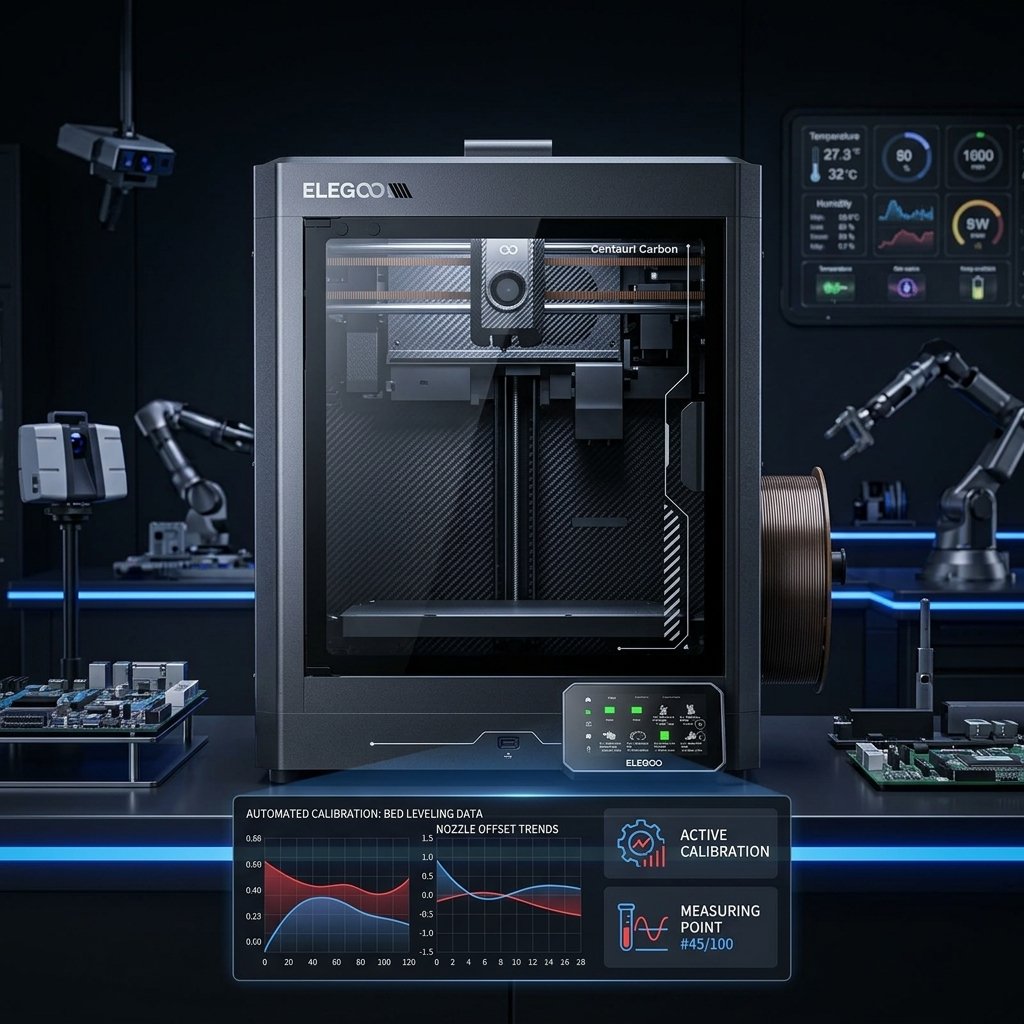
After the calibration finishes, I highly recommend running a quick test model. Use the pre-sliced calibration test file loaded on the printer's internal memory. Ensure the PEI plate is clean (wash it with warm water and dish soap before printing) to prevent bed adhesion issues. If you need help with general bed leveling concepts, you can refer to our 3D printer bed leveling and calibration guide to understand how the mesh correction works behind the scenes.
How to Configure Fluid/Klipper for Custom G-Code Macros
Configuring Klipper on the Elegoo Centauri Carbon via Fluid allows you to customize start, end, and bed mesh loading macros. Accessing the web interface via the printer's IP address lets you edit the configuration files to optimize your print prep sequence.
One of the biggest advantages of the Elegoo Centauri Carbon is its open Klipper architecture. Unlike competitors who lock their machines down, Elegoo allows users to access the full Fluid web interface. Klipper uses a modular approach where settings are defined in a file called printer.cfg. You can write custom G-code macros to automate your workflow, save time, and protect your hardware.
To access the interface, open a web browser on any device connected to the same Wi-Fi network and type in the printer's IP address. From here, you can view real-time print statistics, inspect the bed mesh, control the camera, and edit configuration files. Here is a custom start G-code macro that I use in my shop to ensure the bed mesh is loaded correctly and the nozzle is purged before every print:
[gcode_macro START_PRINT]
gcode:
    # Get parameters from slicer
    {% set BED_TEMP = params.BED_TEMP|default(60)|float %}
    {% set EXTRUDER_TEMP = params.EXTRUDER_TEMP|default(200)|float %}
    {% set CHAMBER_TEMP = params.CHAMBER_TEMP|default(0)|float %}

    M117 Heating bed to {BED_TEMP}C...
    M140 S{BED_TEMP} ; Start heating bed

    # Wait for active chamber heating if requested
    {% if CHAMBER_TEMP > 0 %}
        M117 Heating chamber to {CHAMBER_TEMP}C...
        SET_CHAMBER_TEMPERATURE TARGET={CHAMBER_TEMP}
        TEMPERATURE_WAIT SENSOR="chamber" MINIMUM={CHAMBER_TEMP}
    {% endif %}

    M190 S{BED_TEMP} ; Wait for bed to reach temperature

    M117 Homing all axes...
    G28 ; Home printer

    M117 Loading bed mesh...
    BED_MESH_PROFILE LOAD=default ; Load calibrated ABL mesh

    M117 Heating nozzle to {EXTRUDER_TEMP}C...
    M109 S{EXTRUDER_TEMP} ; Wait for nozzle to reach temperature

    M117 Purging nozzle...
    G92 E0 ; Reset Extruder
    G1 Z2.0 F3000 ; Move Z Axis up
    G1 X10.1 Y20 Z0.28 F5000.0 ; Move to start position
    G1 X10.1 Y200.0 Z0.28 F1500.0 E15 ; Draw the first line
    G1 X10.4 Y200.0 Z0.28 F5000.0 ; Move to side a little
    G1 X10.4 Y20 Z0.28 F1500.0 E30 ; Draw the second line
    G92 E0 ; Reset Extruder
    G1 Z2.0 F3000 ; Move Z Axis up to prevent scratching
    M117 Printing...
This macro ensures that the bed mesh is loaded and active, the nozzle is clean, and the chamber reaches the required temperature before the print starts. It prevents common issues where the printer ignores the bed mesh mesh due to a missing loader command in the default slicer profiles.
Troubleshooting Early Elegoo Centauri Carbon Prints
Troubleshooting early prints on the Centauri Carbon requires checking mechanical belt tension and optimizing slicer profiles for fast flow rates. Understanding these common issues will help you resolve extrusion failures and maintain print quality.
Even with automated systems, you may encounter issues during your first few prints. Here are the three most common problems and how to solve them:
- Corner Bulging at High Speeds: If the corners of your models look rounded or bulged, the default Pressure Advance setting in your filament profile is likely too low. Run a Pressure Advance line test in Orca Slicer to calibrate the K-value. This ensures that the hotend pressure drops in tandem with nozzle slowdowns.
- Under-Extrusion on Long Infill Lines: Printing at 500 mm/s requires massive volumetric flow. If you see hollow or weak infill lines, your hotend has reached its physical melting limit. Lower your maximum volumetric speed in the slicer to 24 mm³/s (for PLA) or 18 mm³/s (for PETG) to prevent the extruder gears from slipping.
- Under-Extrusion After Firmware Updates: As discussed in our community research, firmware updates can sometimes reset Klipper's internal kinematics and input shaper values. If your print quality degrades after an update, clear the configuration cache, power-cycle the printer, and run the full 15-minute auto-calibration cycle again to rebuild the vibration profile.
If you are trying to decide whether this printer is the right choice for your workflow, you can read our comparison of the best FDM 3D printers of 2026 to see how it performs against other options in terms of cost-per-print and long-term reliability.
Conclusion & Summary
The Elegoo Centauri Carbon is a significant milestone for consumer FDM 3D printing. By combining CoreXY kinematics, lightweight carbon fiber rods, and an actively heated chamber with Klipper firmware, it provides makers with an exceptionally stable and fast platform for printing functional components. While it requires minimal mechanical assembly, running the initial auto-calibration cycles and understanding Klipper's configuration files is key to unlocking its full potential. By taking the time to set up custom start macros and tune your slicer profiles, this machine can easily become the most reliable tool in your workshop.
About the Author: Dinu Suciu
I am Dinu Suciu, the lead technician and founder of 3D Print Book. Operating an FDM-only print studio, I spend my days testing high-performance filaments, calibrating high-speed motion systems, and converting complex digital CAD models into robust physical prototypes. My goal is to make industrial 3D printing accessible and reliable for creators worldwide. If you need assistance with a custom prototyping project or need help choosing the right material properties, feel free to contact me directly via our dedicated contact page.