




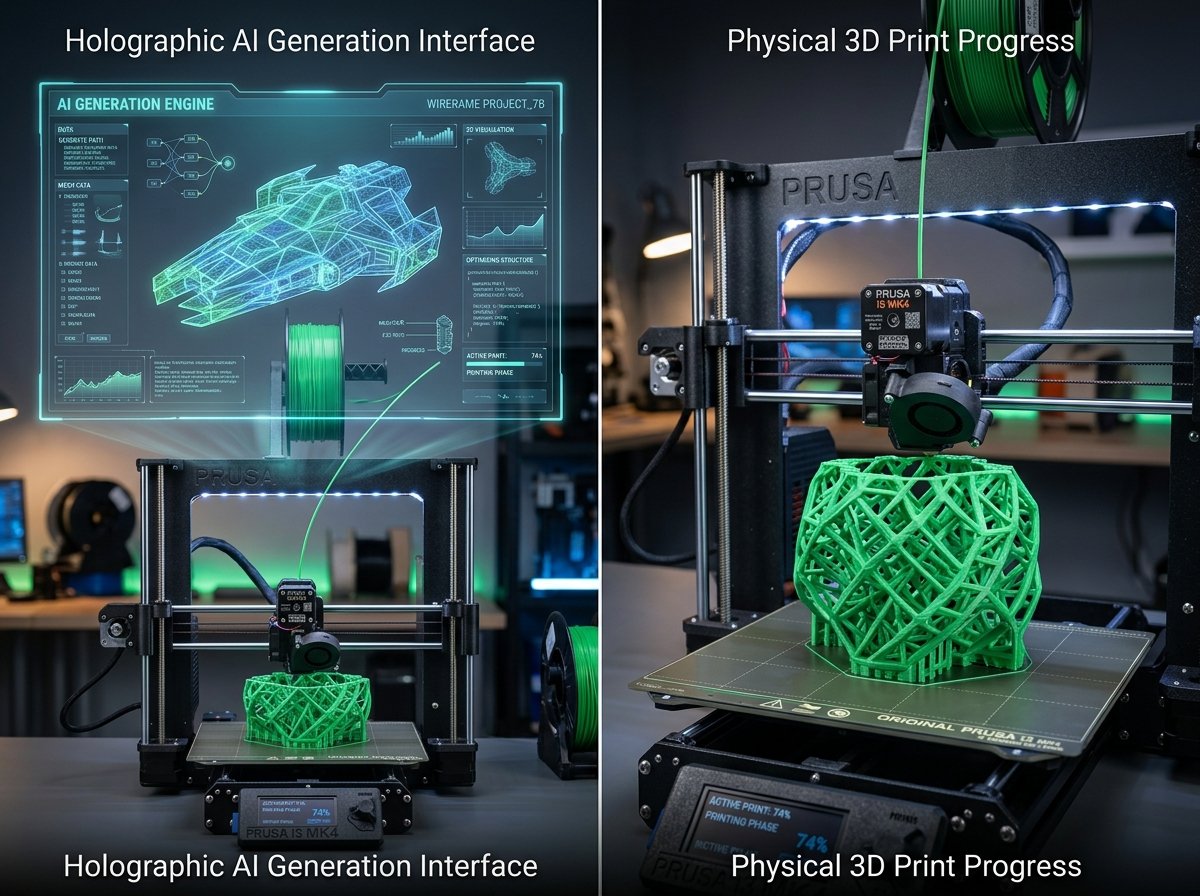
We are living in an extraordinary era where artificial intelligence can generate complex text, stunning images, and now, fully realized 3D models with a single prompt. For FDM (Fused Deposition Modeling) 3D printing enthusiasts and professionals, this seems like the ultimate dream: no more spending hours learning complex parametric CAD software or sculpting in Blender just to print a custom bracket, a detailed figurine, or a decorative prop. However, as anyone who has tried to download an AI-generated model and send it straight to their slicer knows, there is a massive gap between a digital 3D mesh shown on a screen and a physical object that can be successfully printed layer by layer.
As the owner and operator of 3D Print Book, running a local FDM print farm with dozens of machines running daily, I have spent the last several months testing various AI-driven 3D generation tools. I wanted to see if they could be integrated into our rapid prototyping workflow. What I discovered is that while AI tools are incredibly powerful for conceptual design, they require a specific preparation process to be printable. Raw AI-generated meshes are notorious for having non-manifold geometry, self-intersections, zero-thickness walls, and unstable bases that lead to instant print failures on FDM machines. In this guide, I will walk you through the realistic workflow of creating 3D print designs using AI, detailing how to evaluate tools, repair models, and optimize your slicer settings for successful physical prints.
1. Can You Make 3D Print Designs with AI?
Yes, you can generate 3D models using text or image prompts with AI tools, but raw outputs are often non-manifold and structurally weak. To successfully print them on an FDM machine, you must repair the mesh, thicken thin walls, and flatten the base in CAD software before slicing.
Generative AI for 3D modeling works by taking a text description (e.g., "a stylized dragon skull prop") or a 2D image and running it through neural networks trained on vast datasets of 3D objects. The AI attempts to predict the three-dimensional volume, texture, and geometry of the object, outputting a polygon mesh (usually in OBJ, STL, or GLB formats). Unlike traditional computer-aided design (CAD) programs, which build objects using precise mathematical curves and solid geometry, AI generators sculpt objects organically. This makes them fantastic for figurines, artistic designs, cosplay props, and textured scenery, but less suited for functional parts that require exact dimensional tolerances.
However, generating the file is only the first step. When an AI tool creates a 3D mesh, it only cares about how the model looks visually on a computer monitor. It does not understand gravity, the physical limitations of thermoplastic extrusion, or the necessity of a flat base to stick to a PEI print bed. This means that while the AI has generated the design, the human maker must still act as the bridge to convert that mesh into a physical reality. In my print farm, we've successfully printed everything from custom artistic lamps to decorative desk accessories generated by AI, but every single one of them had to go through a rapid cleanup and evaluation workflow first.
2. Top AI 3D Generators for Makers: Why Meshy AI Leads the Pack
The leading AI tools for 3D model generation include Meshy AI, Sloyd, and 3D AI Studio, each offering unique text-to-3D or image-to-3D capabilities. Among these, Meshy AI stands out as the most capable and maker-friendly platform due to its high-quality mesh generation, rapid processing, and direct support for standard export formats.
When selecting an AI tool for 3D printing, you need a generator that outputs clean quad or triangle meshes with reasonable polygon counts and flat base options. After extensive testing, I have found that **Meshy AI** consistently delivers the best results for FDM printing. Meshy allows you to generate a detailed 3D model in under a minute from a simple text prompt or a single reference photo. It also offers an optimized mesh-generation mode that reduces floating artifacts, which are the bane of FDM slicers. Other tools like Sloyd are excellent for parametric, stylized templates, and 3D AI Studio is useful for quick organic meshes, but Meshy’s textures and geometric structures are currently unmatched for creative models.
To help you compare the top options, here is a detailed breakdown of the leading AI 3D generators currently available for makers:
| AI Platform | Primary Input Methods | FDM Mesh Printability | Best Use Case | Exporter Formats | Recommended Slicer Action |
|---|---|---|---|---|---|
| Meshy AI | Text-to-3D, Image-to-3D | High (with minor cleanup) | Artistic models, cosplay props, figurines | OBJ, STL, GLTF, USDZ | Use the text-to-3D generator and export as STL; inspect for thin walls. |
| Sloyd.ai | Text-to-3D, Templates | Medium (highly stylized) | Furniture, low-poly assets, mechanical structures | OBJ, GLTF | Export OBJ and perform a manual flat-base cut in the slicer. |
| 3D AI Studio | Text-to-3D, Image-to-3D | Medium | Organic shapes, toys, draft concepts | OBJ, STL | Thicken the entire mesh by 1.5mm to ensure structural stability. |
| Spline AI | Text-to-3D, Interactive Design | Low (requires CAD reconstruction) | Web UI elements, complex layouts | GLTF, OBJ | Import mesh into Fusion 360 and reconstruct walls using solid tools. |
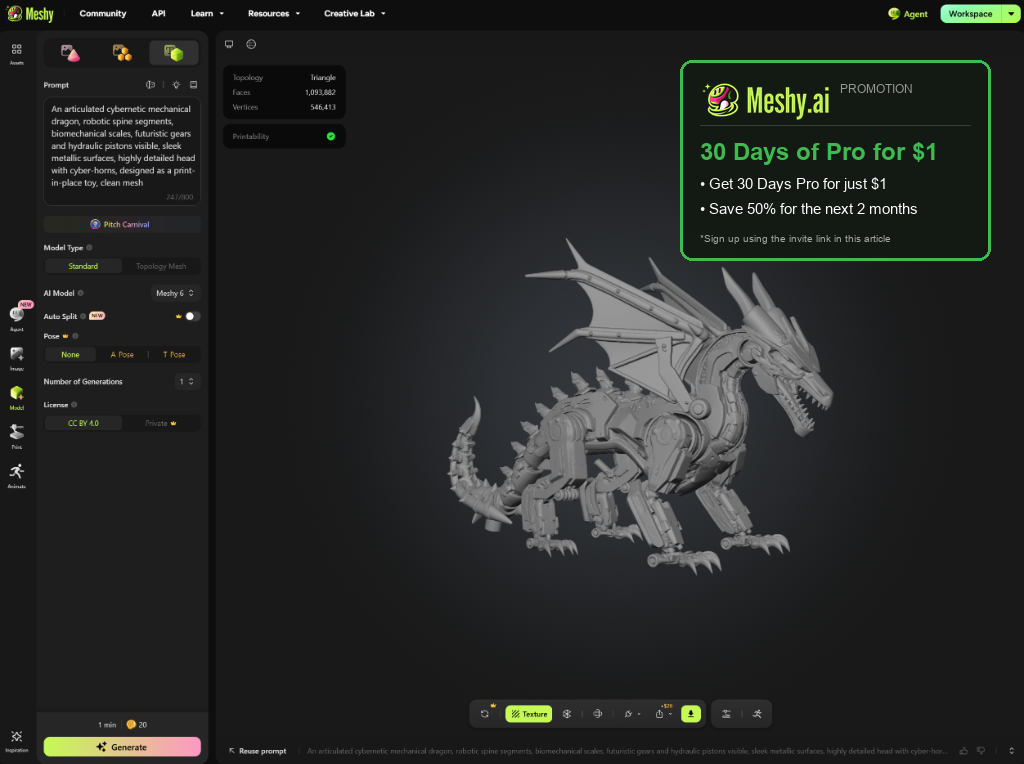
Special Offer: Try Meshy Pro for Just $1!
If you want to start generating high-quality 3D models with AI, I highly recommend using Meshy. Right now, you can take advantage of the Meshy Referral Program and get 30 days of Meshy Pro for just $1, plus get 50% off for the next 2 months! It is the perfect opportunity to test the platform and generate high-resolution models for your 3D printing projects.
To claim this special offer, sign up using my invite link below:
3. The Harsh Reality: Why Raw AI Meshes Fail on FDM Printers
Raw AI-generated 3D meshes fail on FDM printers because they are designed for visual rendering rather than physical manufacturing, resulting in non-manifold edges, zero-thickness shells, and floating polygons. These defects confuse the slicer software, causing hollow prints, layer skips, or spaghetti failures.
When you create a design in a traditional CAD program, the software ensures that the object is a "solid" volume. In 3D printing terms, we call this being **watertight** or **manifold**. A manifold mesh has a clearly defined inside and outside. Every edge is shared by exactly two faces, and there are no holes. When a slicer (like OrcaSlicer, PrusaSlicer, or Cura) processes a manifold model, it knows exactly where to place solid plastic walls (perimeters) and where to generate the hollow internal support grid (infill).
In contrast, AI models are generated as graphical shells. They frequently suffer from the following critical physical defects:
- Non-Manifold Edges & Holes: The AI mesh might have missing polygons, leaving holes in the outer shell. The slicer cannot determine what is inside and what is outside, leading to bizarre slicing paths or empty layers.
- Zero-Thickness Walls: AI tools often generate paper-thin surfaces, such as capes, wings, or clothing details. While these look fine on a monitor, an FDM printer nozzle (typically 0.4mm wide) cannot print anything thinner than its physical diameter. These parts will simply disappear in the slicer preview or print as brittle, single-line structures that break instantly.
- Floating Islands: Because the AI constructs the model using neural prediction, it often leaves tiny, microscopic clusters of polygons floating in mid-air near the main body. When sliced, the printer will attempt to extrude plastic in empty space, causing immediate nozzle jams or spaghetti.
- Unstable Bed Contact: FDM printing relies heavily on a flat first layer sticking to the build plate. AI models rarely have a perfectly flat bottom surface, meaning they have minimal surface area in contact with the bed, causing the print to release and warp mid-print. For tips on preventing bed adhesion issues, you can check our guide on how to improve 3d print bed adhesion.
"AI is a revolutionary tool for generating ideas, but it does not know how a 3D printer works. If you drag and drop a raw GLB file straight from an AI generator into your slicer, your extruder will struggle to slice it, and your build plate will likely end up with a clump of plastic spaghetti. Repairing the mesh is not optional; it is the core of the AI-to-print workflow." — Dinu Suciu, Founder of 3D Print Book
4. Step-by-Step Cleanup Workflow: Making AI Designs FDM-Printable
To clean up and repair an AI-generated mesh for FDM printing, import the model into Blender, run the 3D Print Toolbox addon to identify and automatically fix non-manifold edges, apply a Solidify modifier to thicken thin walls, and perform a plane cut to create a flat base. This ensures the slicer can process the file without errors and that the print adheres securely to the bed.
Thankfully, repairing these files does not require hours of manual remodeling. By using Blender (a free, open-source 3D creation suite), you can clean up almost any AI model in about five minutes. Here is the step-by-step repair workflow we use at the 3D Print Book farm:
- Import and Scale: Import your AI-generated GLB or OBJ file into Blender. AI models are often exported without unit scales, so they might import as microscopic points or massive structures. Scale the model to your desired real-world dimensions (e.g., 100mm height) and apply the scale (`Ctrl + A` -> *Apply All Transforms*).
- Enable the 3D Print Toolbox: Go to *Edit* -> *Preferences* -> *Add-ons*. Search for "3D Print" and enable the built-in *Mesh: 3D Print Toolbox* add-on. This will add a dedicated tab to your sidebar menu.
- Analyze and Clean: Select your model, open the 3D Print sidebar, and click *Check All*. The tool will scan the model and display lists of errors, including "Non-Manifold Edge", "Bad Contig. Edges", and "Intersecting Face". Click the *Make Manifold* button. Blender will attempt to merge overlapping vertices and close small holes automatically.
- Thicken Thin Surfaces (Solidify): If your model has paper-thin sections (like ears, leaves, or fabric), navigate to the *Modifier Properties* panel (wrench icon), add a *Solidify* modifier, and set the thickness to a minimum of 1.2mm (three perimeters on a 0.4mm nozzle). Apply the modifier.
- Flatten the Base (Bisect or Plane Cut): To ensure excellent bed adhesion, you must slice off a tiny portion of the bottom to make it perfectly flat. In Blender, switch to *Edit Mode*, select the *Bisect* tool, draw a line across the bottom of the model, and delete the lower half. Alternatively, you can use the *Boolean* modifier with a flat plane to cut the bottom. If you want a deeper look at general design constraints, see our 3d printing design rules guide.
- Export: Export the repaired model as an **STL** file. Ensure you check "Selection Only" in the export options.
5. Slicer Optimization for AI-Generated Models
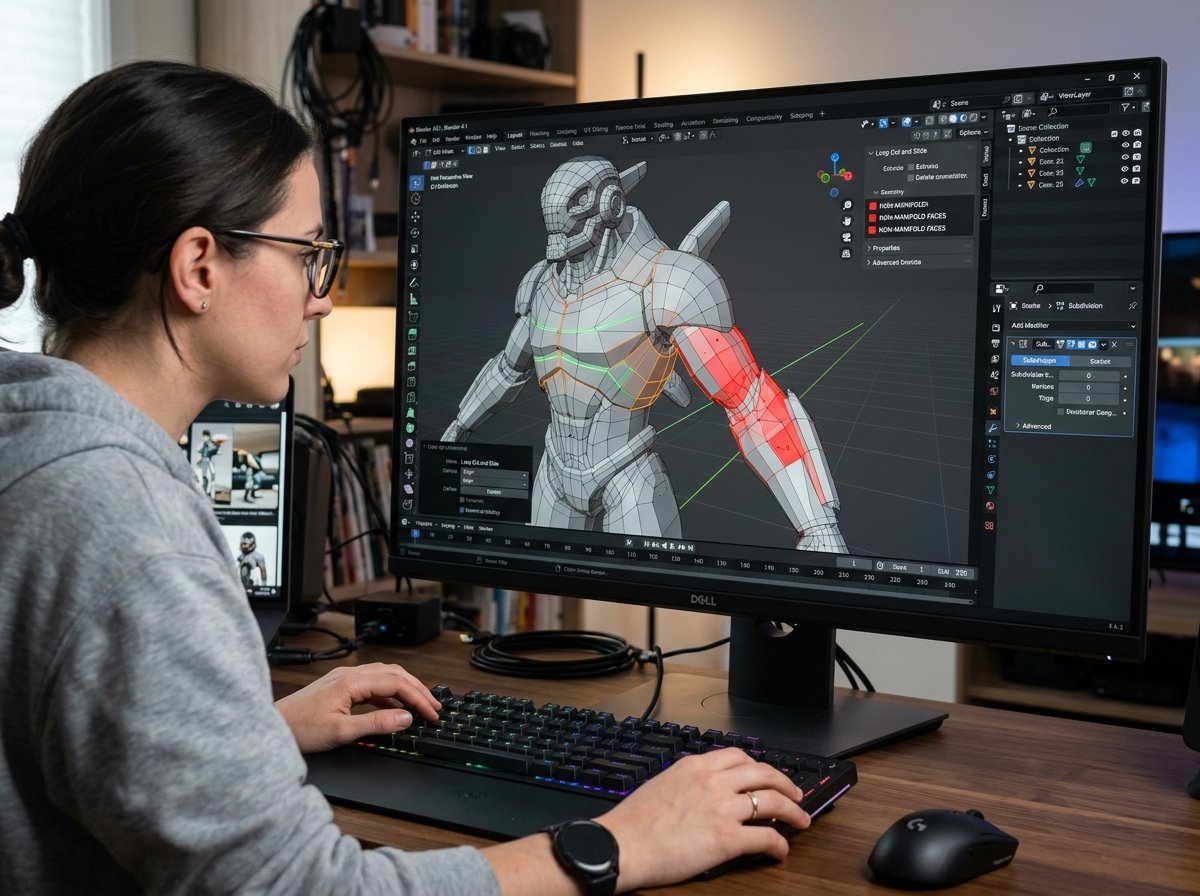
To optimize slicing settings for AI-generated models in OrcaSlicer or Bambu Studio, utilize Tree (organic) supports to handle complex overhangs, increase wall loops to compensate for internal density variations, and use a variable layer height to capture fine organic details. These adjustments prevent extrusion failures on complex, organic geometries.
Once you have exported a clean, manifold STL file, you must configure your slicer profile specifically to handle the organic shapes typical of AI models. Because AI-generated designs lack the flat planes and clean angles of CAD-engineered parts, standard slicing profiles can struggle. Here are the core settings you should adjust in your slicer:
- Use Tree (Organic) Supports: Standard grid supports are difficult to remove from organic shapes and often scar the surface. Tree supports grow around the model, only touching it where necessary. In OrcaSlicer or Bambu Studio, set *Support Type* to *Tree (Organic)*, and set the *Style* to *Tree Slim* to minimize material waste.
- Increase Wall Loops (Perimeters): AI models can have internal cavities or complex geometry that makes the infill structure unstable. I recommend increasing the wall count from the standard 2 to 3 or 4. This ensures that even if the internal geometry is slightly messy, the outer shell is thick, strong, and visually flawless. For functional or structurally demanding parts, check our layer adhesion guide to prevent structural failure.
- Enable Variable Layer Height: AI designs often feature intricate textures on top surfaces but simple geometry near the base. Enabling variable layer height allows the slicer to print fast (thick layers, e.g., 0.28mm) on the simple sections, and slow down (thin layers, e.g., 0.08mm) on detailed sections, capturing maximum quality while saving print time.
- Tune Bed Adhesion Settings: Even with a flat base, organic models can have high centers of gravity. Always wash your textured PEI sheet with dish soap and warm water to remove skin oils, and consider adding a **5mm Brim** in the slicer to provide extra surface area and prevent the model from tipping over as it grows. For severe warping issues, refer to our troubleshooting guide.
By combining generative AI tools like **Meshy** with a solid repair workflow and optimized slicer settings, you can unlock a whole new world of rapid creation. AI will not replace the need for traditional engineering CAD tools, but for organic shapes, prototyping concepts, and decorative items, it is an invaluable tool in the modern FDM maker's arsenal.
6. Frequently Asked Questions (FAQ)
Q1: Why does my slicer show red warning boxes when I import an AI-generated STL?
Slicers display red warning boxes when they detect non-manifold geometry, holes, or self-intersecting faces in the imported STL. These errors mean the file is not a solid "watertight" volume, and printing it without repair can lead to missing layers, random solid blocks, or print failures. You can use the built-in repair tools in OrcaSlicer (which utilizes Windows API or Netfabb) or fix it in Blender.
Q2: Can I print AI-generated mechanical parts that need to fit together?
Generally, no. Generative AI tools are currently built for visual assets and lack dimensional accuracy and geometric constraints. If you try to print an AI-generated bolt or interlocking gear, the parts will likely not fit because the tolerances are unpredictable. For mechanical assembly, traditional parametric CAD software (like Fusion 360 or Onshape) remains necessary.
Q3: How do I get the Meshy Pro offer for just $1?
To get Meshy Pro for $1, you need to sign up using an invite link. This gives you 30 days of Pro membership to generate high-resolution models and textures, with a 50% discount on the next two months of subscription.
Q4: Why does my FDM print of an AI model break so easily along the layer lines?
AI models often feature thin overhangs or organic curves that put high stress on layer bonding. If your print is brittle, you may need to increase your nozzle temperature slightly to improve layer fusion, reduce cooling fan speeds, or apply a Solidify modifier in Blender to increase the wall thickness to at least 1.2mm or 1.6mm.
Q5: Is it legal to sell 3D prints generated from AI models?
This depends on the terms of service of the AI platform you used. For example, models generated under Meshy Pro plans include commercial use rights, allowing you to print and sell the physical outputs. However, models generated under free tiers often restrict usage to personal, non-commercial projects. Always check the licensing terms of the specific tool before selling prints.
About the Author: Dinu Suciu
I am Dinu Suciu, the founder and chief operator of 3D Print Book, a professional FDM printing service and educational platform. Having printed thousands of parts for local engineering firms, model makers, and artists, I specialize in slicer calibration, material testing, and physical mesh optimization. I focus on making emerging digital 3D technologies accessible and practical for real-world manufacturing. If you have questions about repairing AI meshes, optimizing your slicer support profiles, or setting up a high-flow printing workflow, please reach out to me directly through our contact page.