




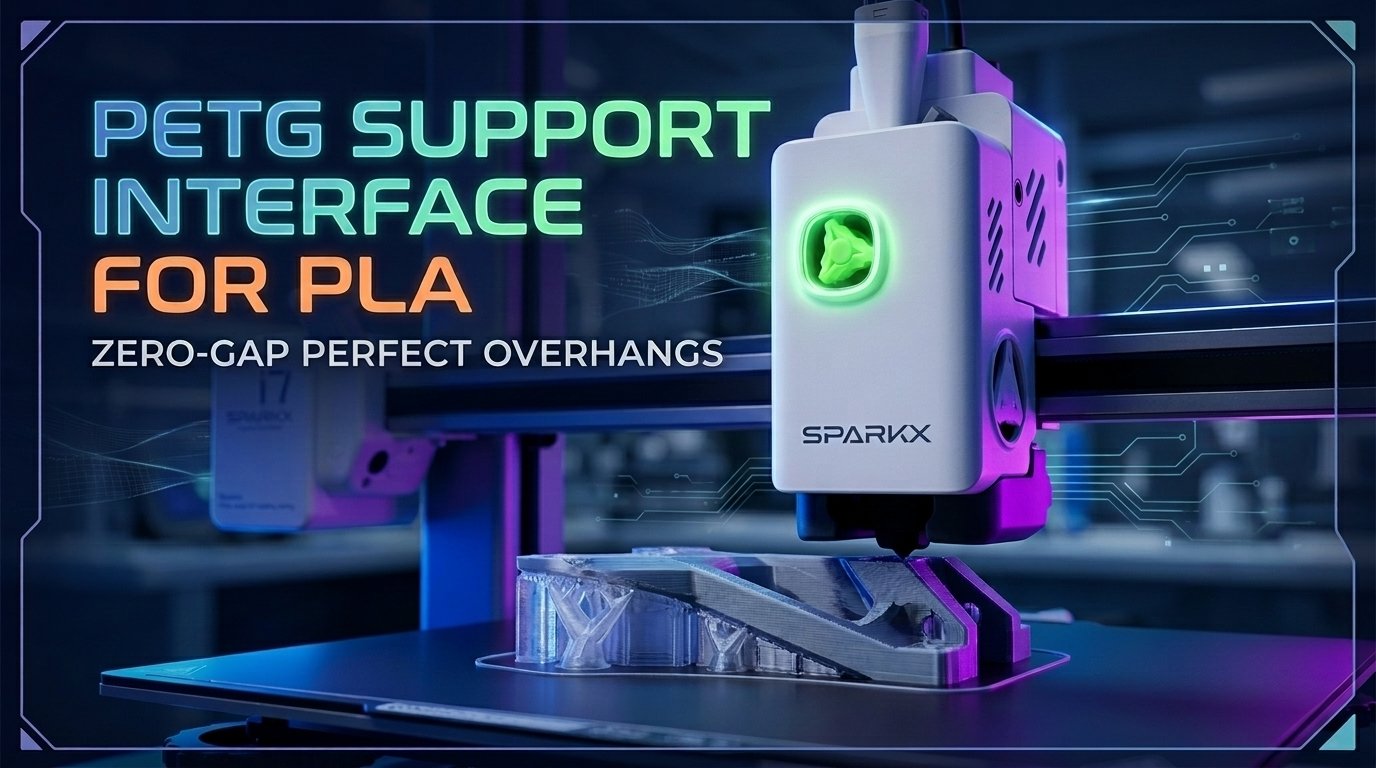
Standard breakaway supports often leave rough overhang surfaces on PLA prints. When you set a 0.2mm Top Z distance to make supports easy to peel off, the unsupported first bridge layer droops slightly, creating visible sag lines. Dedicated water-soluble support materials like PVA or BVOH solve this issue, but they absorb air moisture quickly and carry a steep price tag per spool.
If you run a multi-material system like the Bambu Lab AMS, Prusa MMU3, or a dual-extruder FDM printer, using PETG as a support interface material for PLA models offers a practical alternative. Because PLA and PETG do not bond thermally or chemically during extrusion, you can print zero-gap support interface layers that snap off cleanly by hand, leaving smooth flat overhangs.
Table of Contents
- Why PETG and PLA Do Not Bond: The Thermodynamics of Zero-Gap Support Interfaces
- Configuring Slicer Support Settings: Zero Top Z Distance and Support Flush Volumes
- Preventing Nozzle Heat Creep and Clogs During Multi-Material Temperature Switching
- Frequently Asked Questions (FAQ)
- References & External Sources
Why PETG and PLA Do Not Bond: The Thermodynamics of Zero-Gap Support Interfaces
PLA and PETG possess incompatible polymer chemical structures and surface energies. When hot PETG extrudes directly onto a cooled PLA surface—or vice versa—the two materials touch without inter-diffusing across the interface boundary.
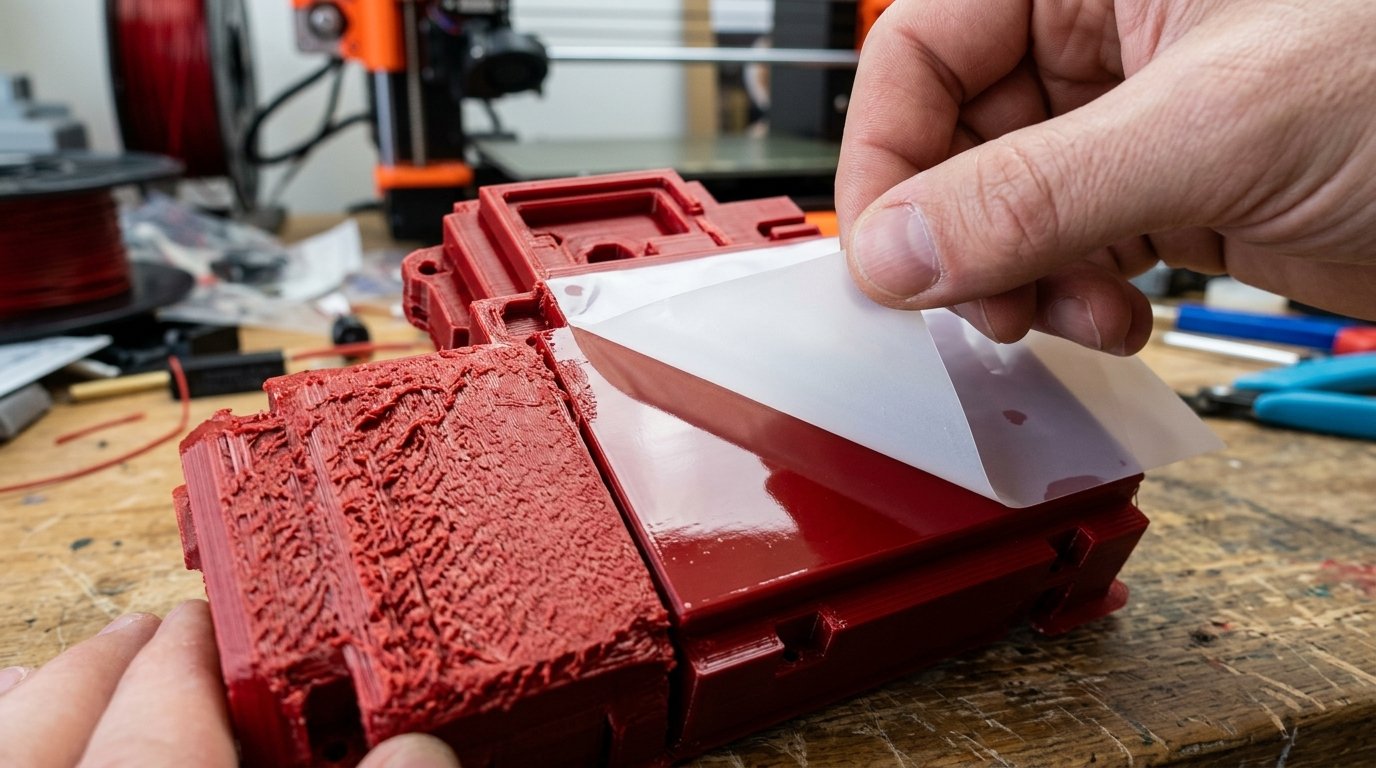
In standard single-material printing, support structures rely on an air gap (typically 0.16mm to 0.24mm Top Z distance) so the support lattice doesn't fuse permanently to the model perimeters. That air gap causes lower layers to sag into open space before cooling down. With PETG used exclusively as the support interface layer, you can set the Top Z distance to 0.0mm. The PETG layer acts as a temporary solid mold ceiling that holds the hot PLA perimeters flat while they solidify.
| Support Technique | Top Z Distance | Overhang Surface Quality | Material Cost per Spool | Moisture Sensitivity |
|---|---|---|---|---|
| Same-Material PLA Breakaway | 0.16 – 0.24 mm | Moderate (visible sag lines) | Standard ($15 – $25) | Low to Moderate |
| PETG Interface on PLA Model | 0.00 mm (Zero-Gap) | Smooth / Flat | Standard PETG ($16 – $26) | Moderate (Requires drying) |
| Soluble Support (PVA / BVOH) | 0.00 mm (Zero-Gap) | Smooth / Molded | High ($60 – $100+) | Extremely High (Requires dry box) |
Instead of printing the entire support tree out of PETG—which would waste filament during frequent material swaps—you configure your slicer to print the main support structure out of PLA. The printer swaps to PETG only for the 2 or 3 dense interface layers right below the model overhang, minimizing total toolhead switches.
Configuring Slicer Support Settings: Zero Top Z Distance and Support Flush Volumes
Setting up PETG interface supports in OrcaSlicer, Bambu Studio, or PrusaSlicer requires adjusting support spacing parameters and calculating nozzle purging volumes.
Open your slicer and navigate to the support settings menu. Modify the following parameters for your PLA print job:
- Support Type: Set to Tree (Auto) or Normal depending on model geometry. Tree supports reduce total material volume while keeping interface contact areas targeted.
- Support Base Material: Select your primary PLA filament slot (e.g., Slot 1).
- Support Interface Material: Select your PETG filament slot (e.g., Slot 2).
- Top Top Z Distance: Change from the default 0.2mm down to 0.0mm. This establishes true zero-gap contact between the PETG interface and PLA overhang perimeters.
- Top Interface Layers: Set to 2 or 3 layers. A single layer can tear during extrusion, while 2 to 3 solid layers form a rigid barrier sheet.
- Interface Pattern: Choose Rectilinear or Concentric with a 0.0mm interface line spacing to form a solid ceiling.
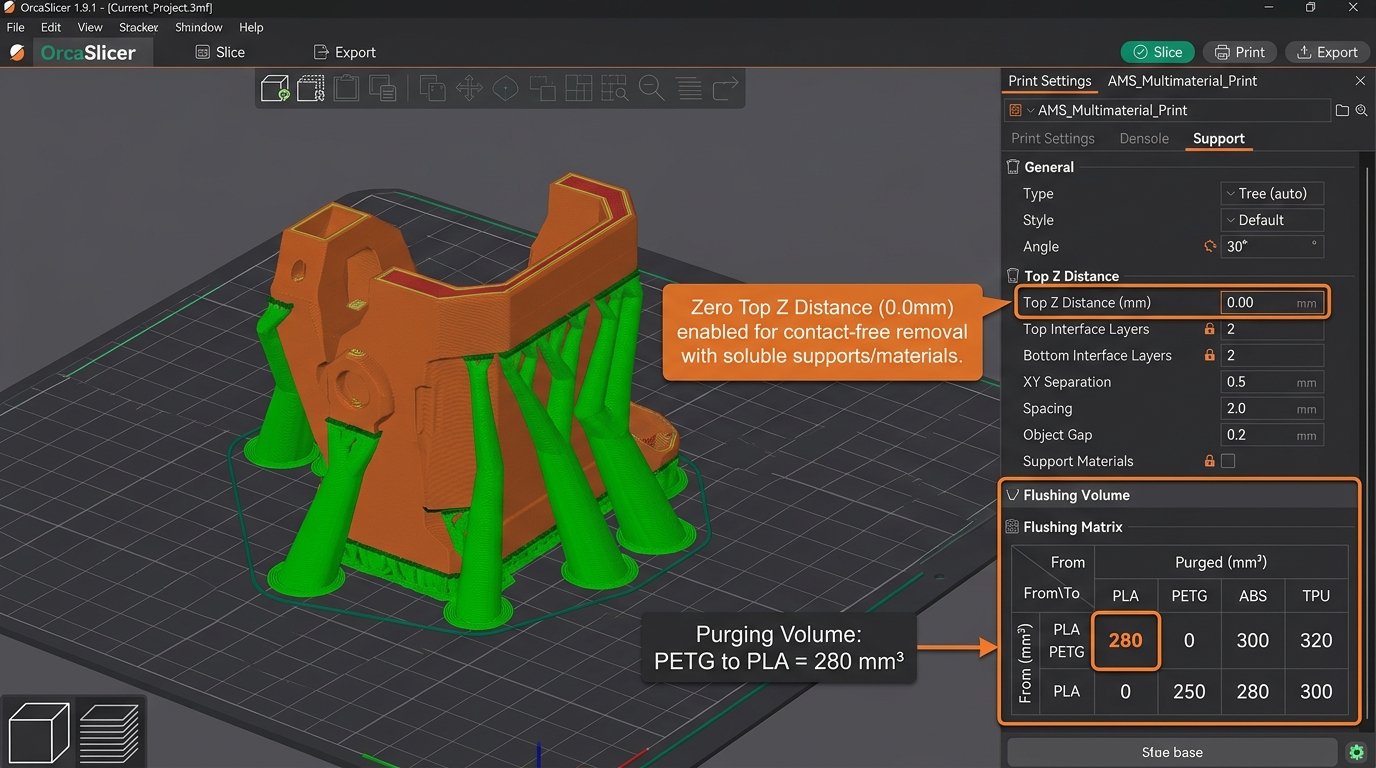
Purging volume is the most critical setting in multi-material support setups. Because PLA and PETG do not bond, even a trace amount of PETG remaining inside the hotend nozzle will weaken subsequent PLA wall perimeters, causing layer delamination on the main model.
In OrcaSlicer or Bambu Studio, open the Flushing Volumes matrix table. When transitioning from PETG to PLA, increase the flush volume to at least 250mm³ to 300mm³. The transition from PLA to PETG requires less purging (around 150mm³ to 200mm³), as minor PLA contamination in the support interface layer won't affect structural integrity.
"On my Bambu Lab P1S with AMS, default flush volumes left microscopic PETG traces in the nozzle during PLA wall passes. My model perimeters split apart along layer lines. Raising the PETG-to-PLA flushing volume to 280mm³ completely fixed the wall weakness."
For additional details on filament extrusion properties and slicer tuning, check our guides on FDM 3D Printing Materials Comparison: PLA vs. PETG vs. ABS vs. ASA, Understanding 3D Printing Materials: PLA, PETG, ABS, and TPU, and How to Eliminate Stringing on High-Speed FDM Printers.
Preventing Nozzle Heat Creep and Clogs During Multi-Material Temperature Switching
Printing PLA and PETG in the same print run forces the hotend to change temperatures repeatedly. Standard PLA prints around 200°C to 220°C with a 55°C–60°C heatbed, while PETG extrudes at 235°C to 250°C with a 70°C–80°C heatbed.
These temperature swings introduce two main practical risks during long multi-hour prints:
1. Bed Temperature Compromise
If you heat the print bed up to 80°C for PETG, lower PLA layers near the build plate can soften past their glass transition point (around 55°C–60°C), resulting in first-layer squish deformation or elephant's foot. Keep the heatbed temperature set at 60°C – 65°C throughout the entire job. PETG sticks adequately to textured PEI plates at 65°C when printed as a support interface, while PLA perimeters stay dimensionally stable.
2. Nozzle Temperature Wait Times and Heat Creep
When the toolhead finishes printing a PETG interface layer at 240°C, the slicer commands the nozzle to cool down to 210°C before resuming PLA wall loops. If the extruder pushes PLA filament into the hotend before the nozzle reaches target temp, the increased backpressure causes extruder drive gear clicking and slipping.
To avoid temperature transition jams, configure your slicer toolchange G-code so the nozzle fully reaches target temperature before advancing filament. Furthermore, ensure your hotend cooling fan is clean and working at full speed. Prolonged standby pauses at elevated temperatures can transfer heat up the cold throat tube, causing heat creep clogs in enclosed toolheads.
Frequently Asked Questions (FAQ)
1. Can I use PLA as a support interface for PETG models?
Yes. The process works in reverse. When printing a main PETG model, set your support interface layers to PLA with a 0.0mm Top Z distance. Ensure your heatbed stays at 65°C to 70°C and purge thoroughly when switching from PLA back to PETG.
2. Why did my model perimeters become weak after using PETG supports?
Weak model walls occur when residual PETG mixes into the PLA extrusion stream because of insufficient nozzle purging. Increase your PETG-to-PLA flushing volume in your slicer to 280mm³ or higher to clear out all PETG residue before printing outer perimeters.
3. Do I need to dry my PETG filament before using it as a support interface?
Yes. Wet PETG stringing across support gaps can deposit stray blobs onto PLA model perimeters, causing surface defects. Dry your PETG spool at 60°C for 4 to 6 hours before starting a multi-material print.
4. How many support interface layers should I configure in OrcaSlicer?
Setting 2 or 3 top interface layers creates a solid, uniform sheet that supports PLA bridge spans evenly. A single interface layer may tear or leave gaps where hot PLA can fuse to the support lattice underneath.
References & External Sources
- Bambu Lab Official Wiki: Bambu Studio Software Documentation – Official manufacturer guide on multi-material support interfaces, flushing volume calculations, and AMS setup.
- Prusa Knowledge Base: Support Material Settings & Soluble Interfaces – In-depth technical documentation on zero-gap Z distance configuration and multi-material interface options.
- Prusa Knowledge Base: Wipe Tower & Multi-Material Purge Volume Guide – Technical guide on calibrating purge volumes and wipe towers during toolhead material transitions.
- OrcaSlicer Official Wiki: Advanced Support Interface Tuning – Official slicer documentation on setting interface density, line spacing, and flushing matrix values.
About the Author: Dinu Suciu
Dinu Suciu is an FDM 3D printing practitioner, prototyping engineer, and founder of 3D Print Book. Operating high-speed enclosed CoreXY FDM printers, Dinu focuses on practical material testing, slicer configuration, and routine machine maintenance. Have questions about setting up multi-material support profiles? Reach out through our Contact Page.